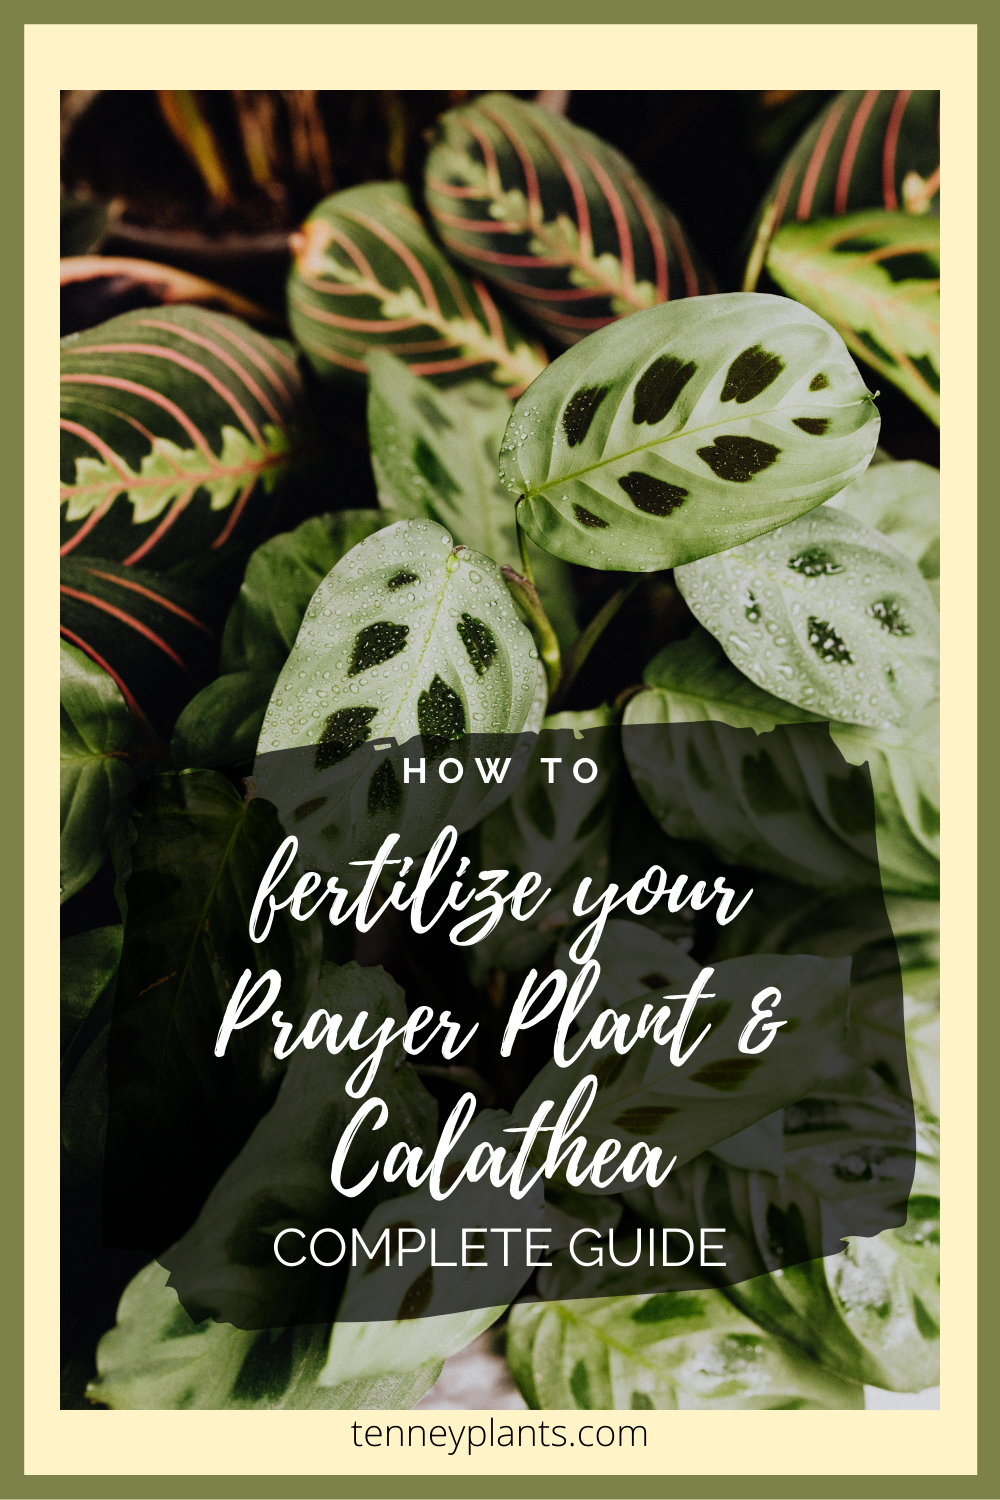
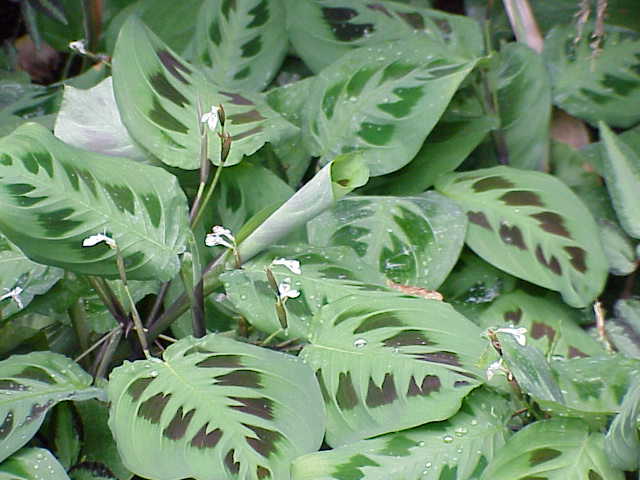
The prayer plant includes many plants in the genus ‘Maranta’ as well as the ‘Calathea’. Each has stunning colors of greens and reds and they get their name from the leaves folding closed at night like little praying hands would. Though the name “prayer plant” refers to plants in different genuses, they all still have the same fertilizing needs. And by fertilizing your prayer plant, you’re keeping your plant in the best shape by providing it with all the essential nutrients it needs. This article is here to help you know why and how to fertilize a prayer plant.
Before we dive in, we’ll be going over the science behind fertilizing so you know exactly how it’ll be working with your prayer plant. I’ll be explaining it in a simple manner so that any skill level can understand, as I always try to do on my website. And once you’ve finished this article, you’ll be ready to properly fertilize your prayer plant and understand why you’re doing it as well!

Benefits to Fertilizing
The first key thing to understand is that fertilizing your plant can be compared to giving it a vitamin. Fertilizer provides your plant with nutrients it needs to keep it in good health, but it’s not necessary for its survival, just as a vitamin is not necessary for our survival. And thank heavens, because I always forget to take my vitamins! Put simply, your prayer plant isn’t going to die because you decided to not give it it’s “vitamin”. It can take quite some time for your prayer plant to show you, via spotting, yellowing leaves, etc., that it absolutely needs some fertilizer.
Fertilizing your prayer plant can help it grow optimally and will also help it have less problems in the long run. Fertilizing can even increase chances of your prayer plant blooming or having more frequent blooms. So if you enjoy the delicate purple blooms of the prayer plant, then fertilizing is a great way to go.

By Elisa.rolle – Own work, CC BY-SA 4.0, https://commons.wikimedia.org/
What Fertilizer To Use
This is the obvious first step to fertilizing, but it can be the most overwhelming step. I’m here to help simplify it for you, don’t worry. There are a lot of options out there and you should know that some fertilizers are better than others. You’re welcome to disagree but my personal opinion is to steer clear of organic fertilizers including things such as “fish meal”, “blood meal”, “worm poop”, etc.
Why? Well, there are a lot of different types that will tout how organic they are and have catchy names but most, if not all of them, have very little nutritional value and are more expensive than they are worth. The only positive of these organic fertilizers is that they are environmentally friendly, BUT I would argue that normal fertilizers are just as environmentally friendly if they’re used properly. If you’re being a responsible adult and you aren’t dumping your fertilizer down the drain or into your local river, you won’t be having a negative impact on the environment with your normal “un-organic” fertilizer. That’s my two cents on organic fertilizers, and like I said earlier, you don’t have to agree.
By Kurt Stüber [1] – caliban.mpiz-koeln.mpg.de/
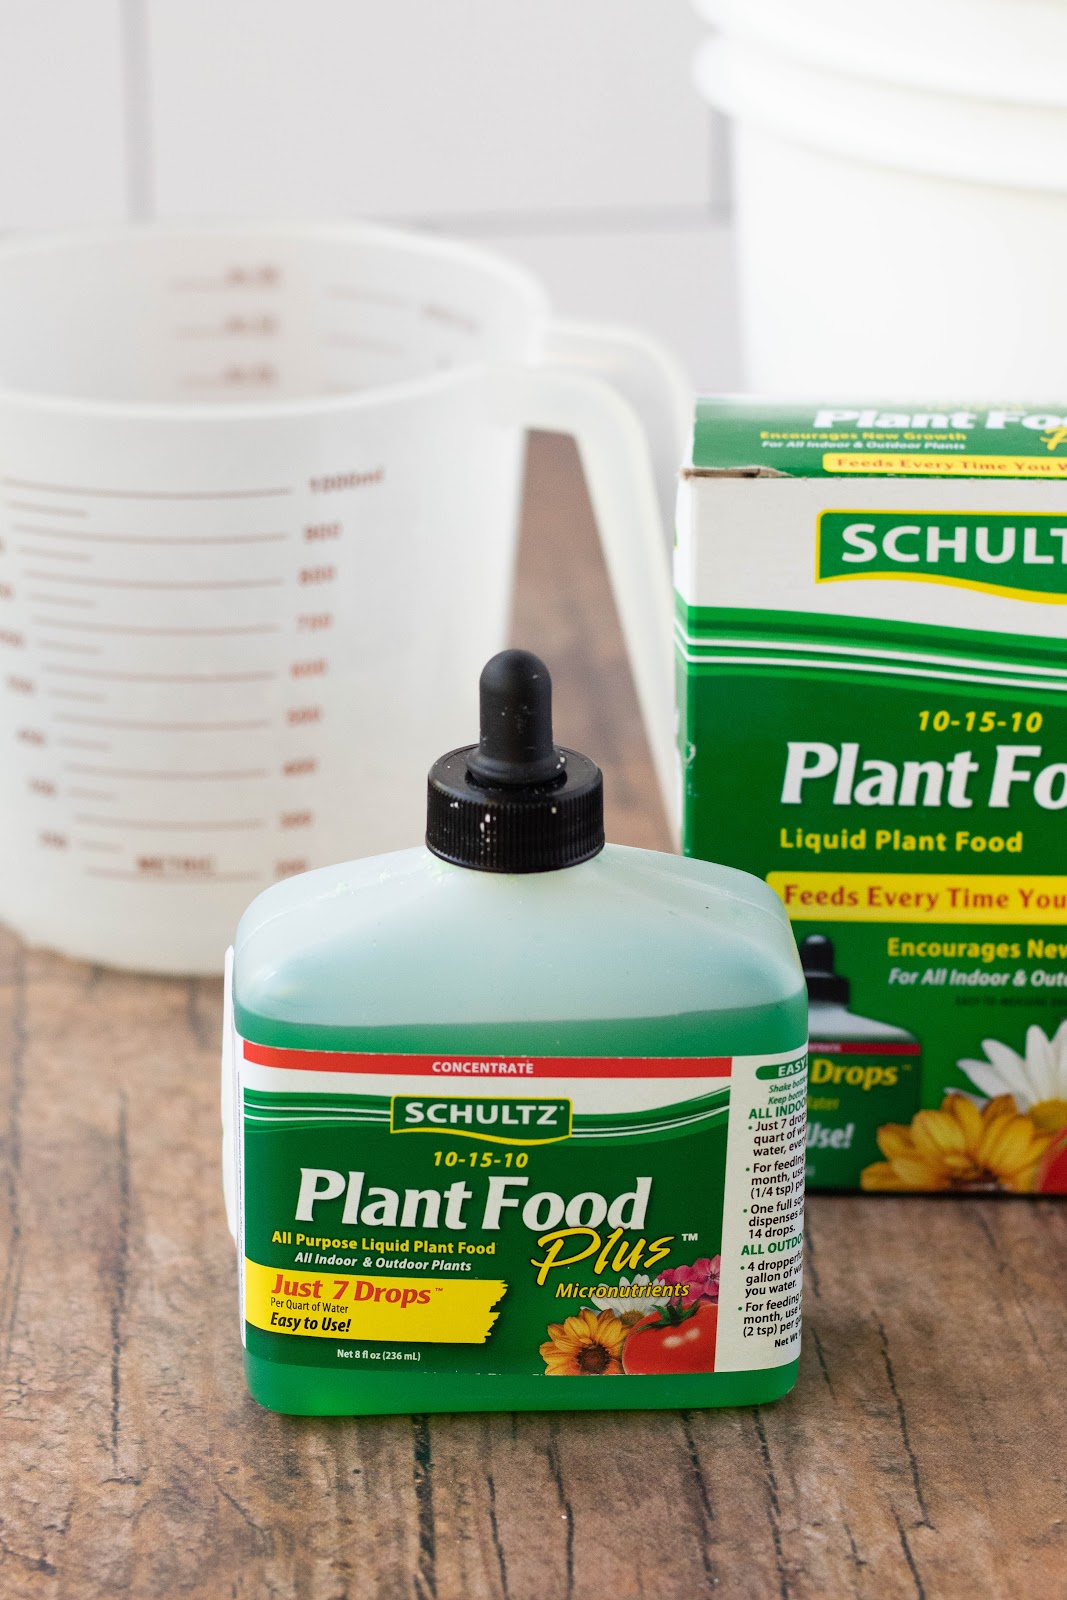
So with that being said, I use Schultz 10-15-10 Plant Food Fertilizer for my prayer plant. I’ll put its Amazon link right here for your convenience. (We are Amazon Associates and earn a small commission from sales that use these links at no extra cost to you.)
I’m not being paid or sponsored by this company to recommend this product to you, it’s just one that I’ve used multiple times and have had no problems with it. I’ve used it for about a year now and so far, me and my prayer plant have no complaints towards it. This fertilizer has good nutritional value that can be used on multiple houseplants, not just your prayer plant. Another positive about this product is that it lasts a long time. I mentioned that I’ve had it for about a year and I still have more than half of it left even with using it on all of the plants in my home. It’s definitely a worthy investment for a healthy prayer plant or for the health of your other houseplants that you own.
Understanding Your Fertilizer
A key piece of fertilizing properly is actually understanding what fertilizer is and what it’s providing for your plant. All fertilizers will have three numbers listed on the label, allowing you to easily compare them against each other. The one I recommended above is a 10-15-10 and those numbers relate to the percentage of active ingredients of NPK (Nitrogen, Phosphorus, Potassium(K)), in that order.
For Schultz 10-15-10 Plant Food Fertilizer, 10% of the active ingredients is nitrogen, another 15% is phosphorus, and 10% for potassium. The remaining percentage not covered includes micronutrients and other ingredients to benefit the plant. N, P, and K are the three main macronutrients that are needed by all plants and they’re needed in larger quantities than other nutrients. Nitrogen helps with your prayer plant’s overall greenness, phosphorus helps with flower development and with roots, and potassium helps with the general cellular functions.

You may still be wondering why we need to be putting these nutrients into the soil of our houseplants. Soil naturally has these nutrients in it but over time, your prayer plant is pulling up these nutrients to grow and function. Since your plant constantly pulls up these nutrients, they’re eventually depleted from the soil. If you were to decide to never fertilize your plant, a day would come that your prayer plant would run out of key nutrients and show signs of deficiencies via yellowing leaves, off-color leaves, etc. This would especially be the case if you also decided to never replace the soil in your prayer plant’s pot since new soil can supply some levels of N, P, K to your plant.
Prayer plants are particularly sensitive to iron deficiencies and will show this via lighter green or yellow leaves with dark veins, commonly known as iron chlorosis. This tendency for iron chlorosis is just another reason to fertilize your prayer plant. Though, it may take years for your prayer plant to show signs of nutrient deficiencies, so if you do notice a yellowing leaf or strange coloring, take a moment to pause and use the method of deduction to figure out what it may have been caused by before assuming it simply needs fertilizer.
Prayer plants naturally will lose their older leaves over time and more problems can be easily caused if you prematurely assume your plant needs fertilizer because of some yellowing leaves.
How Often Should I Fertilize My Prayer Plant
I know a lot of other sources may say otherwise, but there really isn’t a strict schedule to follow with fertilizing your prayer plant. Instead, I recommend fertilizing according to the sunlight that your prayer plant is receiving. Fertilizing a little more often in the sunnier months is wise because your plant will be growing more rapidly with the increased sunshine. And on top of that, here are some some general guidelines that you can refer to when fertilizing your prayer plant:
-
High light = Fertilize 4-6 times a year
-
Low light = Fertilize 2-3 times a year
You are the one who knows your prayer plant the best so if you see that it’s growing rapidly and getting sufficient sunlight, you may need to fertilize it six times a year. You fertilize it more in higher light because your prayer plant is gathering a lot of energy and taking up nutrients in the soil more rapidly and depleting them faster. When in low light, your plant is not growing quickly and not taking up nutrients very fast, therefore, will not need to be fertilized as often.
If you still are unsure and doubt your ability to know how much light your prayer plant is receiving, go on the conservative side and only do it twice a year. BUT, if you decide to fertilize more often than the guidelines I’ve given above, you risk overloading your prayer plant with nutrients. This could quickly cause nutrient toxicity or fertilizer burn, which will be manifest in crisp leaf edges, especially on the tips, or sudden yellowing leaves. Be sure to watch your prayer plant closely the days after fertilizing to make sure it isn’t developing fertilizer burn.
Fertilization Steps
Now that you got the fertilization basics under your belt and know all of its benefits and how often you should be doing it, you’re finally ready to fertilize your prayer plant! Just to be safe and make sure we’re on the same page, check off the following two statements to make sure you’re ready to fertilize.
-
My prayer plant is in good health & has no underlying conditions such as bad watering practices, pest problems, etc.
-
I am not fertilizing to fix ALL of the problems presently seen on my prayer plant
The reason I have you check off these two boxes is because while working with plants, I’ve seen people too often use fertilizer as a sort of “Hail Mary” to fix all of their plant’s problems and get it to some unattainable image of perfection that they think they’re plant should be in. Unfortunately, fertilizing doesn’t quite work that way. If your prayer plant is already dealing with problems or stresses like improper watering practices, pests, sun scorch, etc., then fertilizing it will just add a new layer of stress and could cause more harm than help. Sometimes the stress can push your prayer plant over the edge and cause it to die. If your prayer plant isn’t struggling with any serious outside factors and is in good health, it can handle being fertilized!
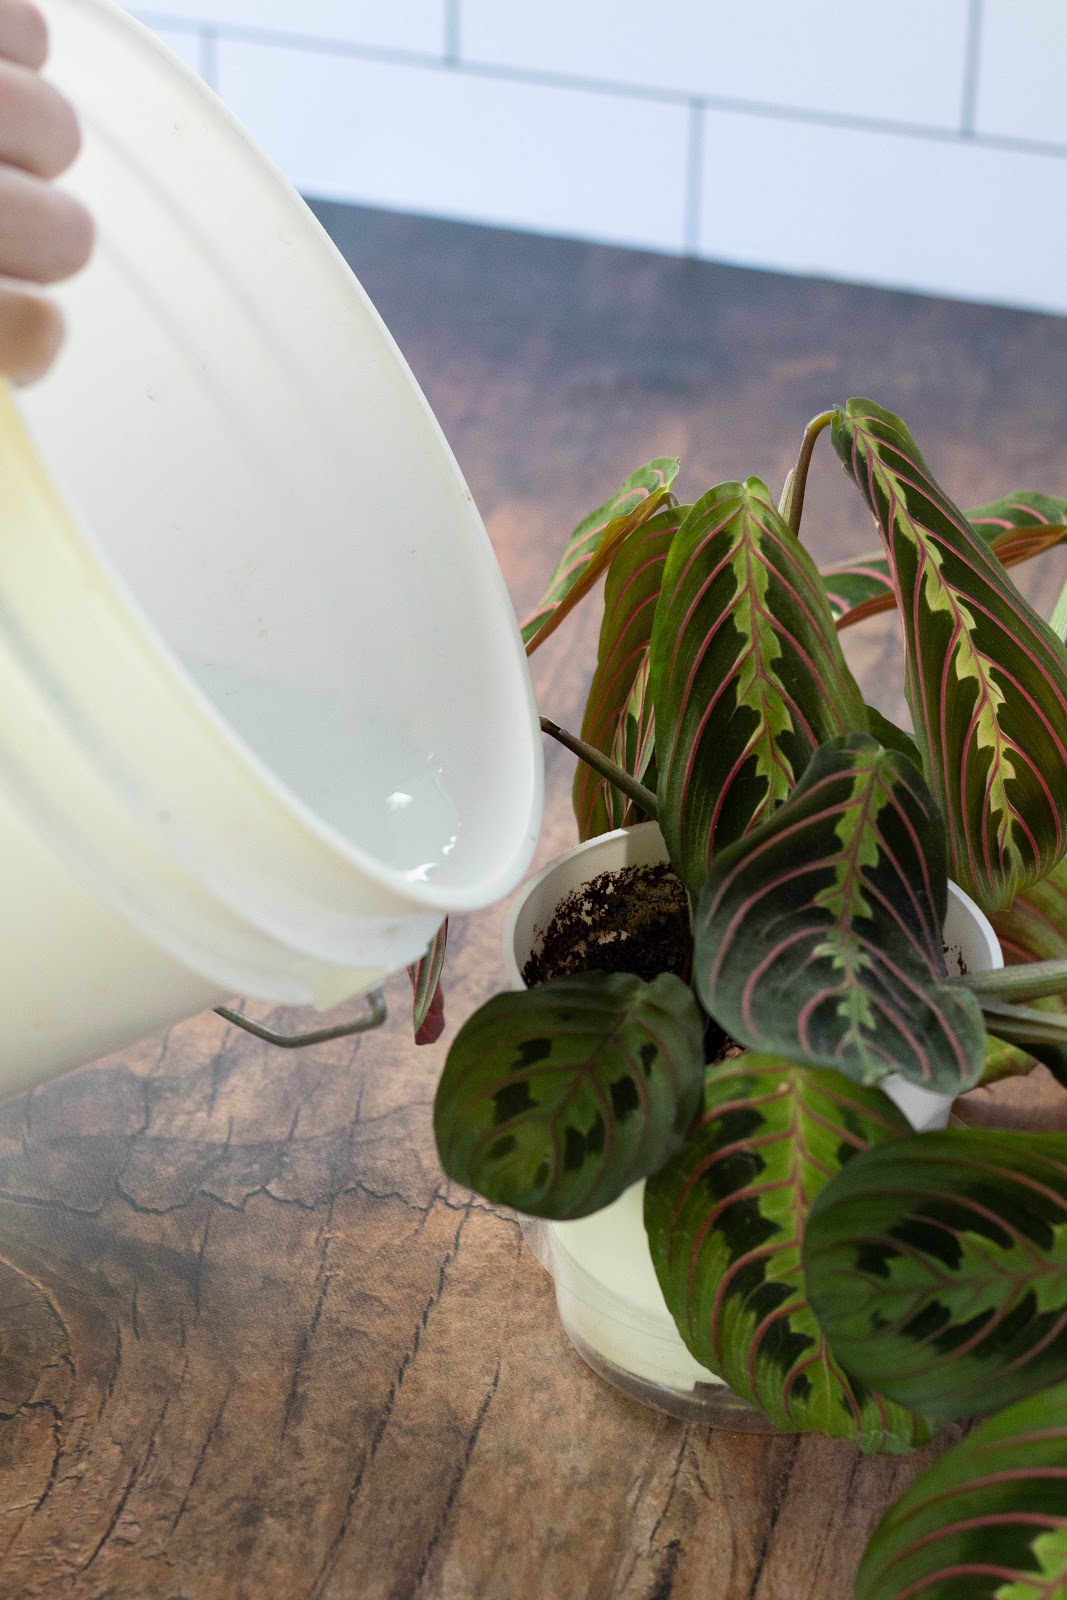
#1: Gather Supplies
Fertilizing is a really simple process so your needed supplies make a pretty small list. All you’re going to need is your fertilizer, a clean watering can or bucket (I keep a separate bucket just for fertilizing), a liquid measuring cup, and your prayer plant, of course.
#2: Mix Water and Fertilizer
This step is the most important step when fertilizing because it’s where damage can happen if done improperly! If you use too much fertilizer, you risk causing fertilizer burn which can damage your plant with browned leaf tips and edges (more details on step 4). Read the label of your fertilizer and make sure that you’re adding the right amount of fertilizer for the amount of water you have measured out. If anything, err on the side of adding less fertilizer than what the fertilizer says to add so that you don’t risk harming your prayer plant.

Once you’ve put the drops of fertilizer into the room-temp water, give the water a good mix around with a stick or spoon to ensure that it fully dissolves into the water.

#3: Drench Soil
Fully drench/saturate the soil so that water comes out of the bottom drainage holes of your pot. This step of drenching the soil will ensure that ALL of the soil in the pot has a chance to replenish its nutrients and reach all of the roots. I recommend placing your prayer plant in the sink or somewhere where you don’t mind the excess water running out.
**If your prayer plant is in a pot that has no drainage holes at the bottom, then do not follow this rule! Instead, you need to be very careful with how much water you pour into the soil. If you add too much, you risk having it sit at the bottom of the pot for days and causing your roots to literally rot and your prayer plant is likely to die or lose a lot of its foliage. To avoid causing problems, you can stretch out watering it with your fertilizer-water mixture over a set of a few weeks, or you can carefully water/fertilize it once without adding too much.
#4: Watch for Signs of Over-Fertilization
Over the next few days, if you notice any brown edges, browned tips, entire yellow or entire browned leaves on your dracaena, it’s a sign you used too much fertilizer. But don’t worry! You can remedy this by placing your prayer plant in the sink or shower and leaching out the soil. This means that you place your plant under running water and let the water drain out the bottom of the pot. Do this for a minute or two to help wash out excess fertilizer/nutrients and it will give your prayer plant a greater chance of being able to bounce back and survive without a problem.

I really do hope this guide helps you understand fertilization and know how to properly fertilize your prayer plant without causing any problems for you and your plant. It’s a simple process once you understand the principles behind it! Fertilizing can be a great way to replenish the soil’s nutrients, increase vigorous growth, and help your prayer plant stay healthy and increase chances of blooming more often. You deserve it too after all the research you’ve put into this plant of yours!
Be sure to pin this article for future reference and you can read more about prayer plant care here:
…